Wiring Your ESC A Beginners Guide to Drone Electronics
The Beating Heart of Your FPV Build
Let's get one thing straight. If your flight controller is the brain, your Electronic Speed Controller (ESC) is the muscle. It takes the raw voltage from your battery and shoves it into the motors. Mess up the ESC wiring, and your drone turns into a very expensive, highly flammable brick. But don't sweat it. Wiring drone electronics isn't black magic. It just takes patience, a decent soldering iron, and a heavy hand with the flux.
Gear Up Before You Melt Something
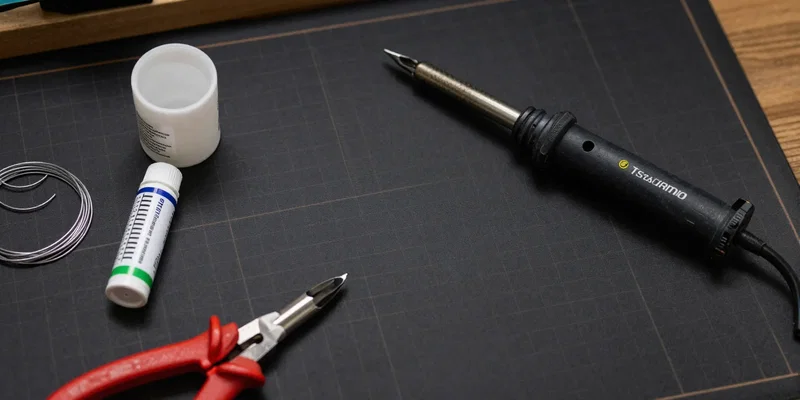
Stop right there. Put down the cheap $10 soldering iron you found in a drawer. You are dealing with thick gauge wires and heavy copper pads that soak up heat like a sponge. You need a proper iron that can push 400°C without dropping temp. Grab some high-quality 63/37 leaded solder. Yes, leaded. It flows better. And flux. Buy a syringe or a tub of it. If you think you've used enough flux, add a little more. It's the absolute secret to shiny, indestructible joints.
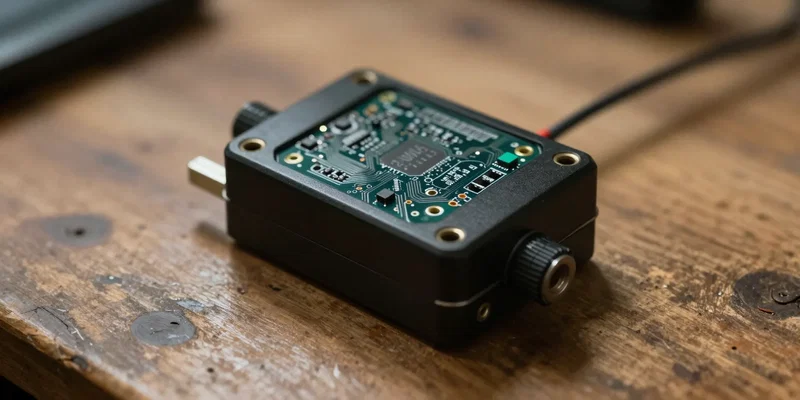
Taming the Main Power Wires
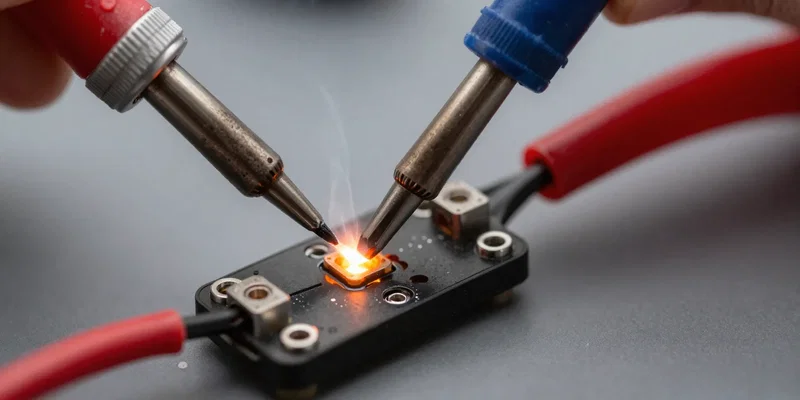
This is the intimidating part. The battery pads. You're hooking up an XT60 pigtail, which means thick 14AWG wires. First, pre-tin the pads on the ESC. Crank that iron heat up. Hold it on the pad, feed the solder in, and watch it pool into a nice silver dome. Do the exact same thing to the wire tips. Now, place the wire on the pad, press down with the flat edge of your iron, and wait for both sides to melt together into a single liquid pool. Hold it perfectly still while it cools. A cold joint here means your drone drops out of the sky mid-flip. No pressure.
Hooking Up the Motors
You've got four motors. Each motor has three wires. That's twelve solder joints staring back at you. Here's a little secret for beginner FPV builds: the order of those three wires literally doesn't matter. Just solder them straight across to the three pads on the corner of the ESC. If the motor spins the wrong way when you test it later, you just click a button in your configuration software to reverse it. Boom. Easy. Keep your wire lengths tightly trimmed so they don't get chopped into confetti by your spinning props.
The Brain to Brawn Connection
Now for the delicate stuff. The ESC needs to talk to the Flight Controller. Most modern stacks use a simple plug-and-play wiring harness. A tiny plastic clip that snaps the two boards together. If you're lucky, you just push it in and you're golden. But double-check the pinout anyway. Look at the tiny text printed on the boards. Verify that the ground pin on the ESC lines up with the ground pin on the flight controller. Same for battery voltage and the motor signal wires. Grab a smoke-stopping tool. Plug it in before your battery. It'll instantly kill the power if you crossed a wire, saving you from a face full of magic smoke.