How to Install and Configure Betaflight on a Budget
Stop Overpaying for FPV Brains
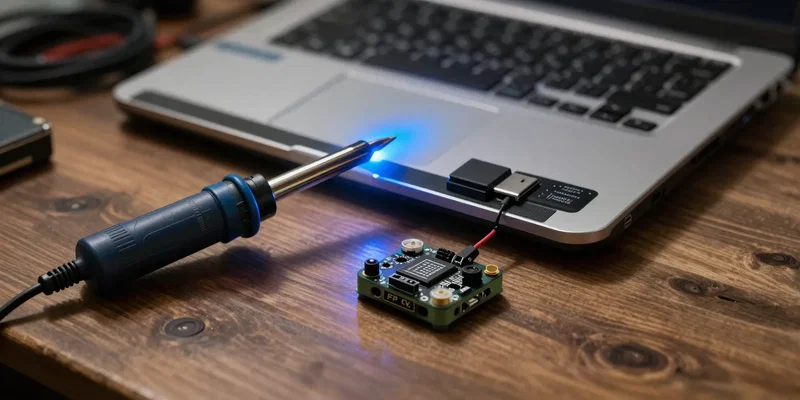
You just scraped together enough cash for a budget DIY FPV build. Good. Now it needs a brain. Betaflight setup doesn't cost a dime, but getting it wrong will cost you plenty in busted props and fried electronics. First things first. Grab a data-capable USB cable. Not the cheap charging cable you got at the gas station. A real data cable. Plug in your flight controller, download the Betaflight Configurator, and let's get this drone software talking to your PC.
Flashing Firmware Without Bricking Your Board
Time for flight controller flashing. Sounds scary. It isn't. Click the 'Firmware Flasher' tab. Find your specific board target. Guess here and you'll brick your hardware. Select the latest stable release. Not the bleeding-edge nightly build. You want to fly, not beta-test bugs. Hit 'Load Firmware [Online]' and smash that 'Flash Firmware' button. Watch the progress bar. Do not touch the cable. Just breathe.
Making It Listen
A flashed board is just a useless rock if it can't hear your radio. Head to the Ports tab. Find the UART where you soldered your receiver and flip the 'Serial Rx' toggle. Save and Reboot. Now jump to the Receiver tab. If you're running ExpressLRS—and you definitely should be on a budget—set the provider to CRSF. Move your radio sticks. The little colored bars on the screen should move with them. If they don't? Check your soldering. It's almost always the soldering.
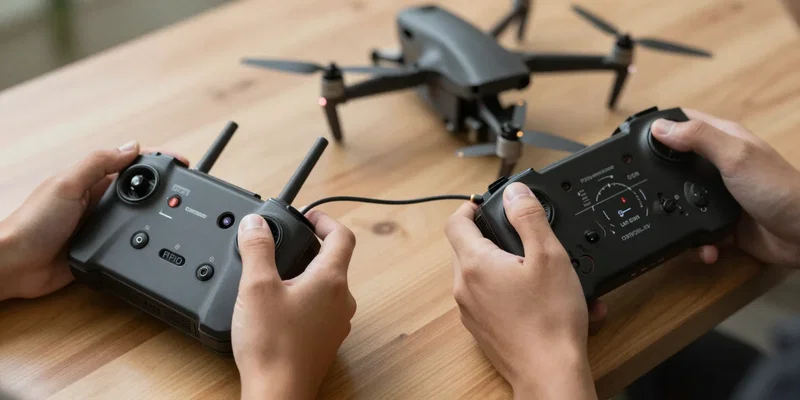
Setting Up Switches So You Don't Lose Fingers
Your quad needs to know when to wake up. That's FPV configuration 101. Go to the Modes tab. Add a range for 'ARM' and tie it to a two-position switch on your radio. Make it a switch you can hit fast in a panic. Next, add 'Angle' mode to another switch if you're still learning. Finally, set up 'Flip Over After Crash' (Turtle Mode). You'll crash. A lot. Walking across a muddy field to retrieve your quad sucks. Turtle mode flips it over using the motors. Set it up.
Skip the Paid Tunes
Everyone on the internet tries to sell you "pro" PID tunes. Ignore them. Betaflight's default tune is shockingly good right out of the box. Especially for budget builds where your motors and frame aren't perfectly matched anyway. Go to the PID Tuning tab. Turn on RPM filtering if your cheap ESC supports bi-directional DShot. Leave the sliders alone for your first few flights. Grab a battery, put your goggles on, and go rip some packs.