Essential Soldering Techniques for Drone Flight Controllers
Stop Blaming the Hardware for Your Crash
You just spent three hours building your new quad. You throttle up. It flips, smokes, and dies. Brutal. Most beginners blame the hardware. But let's be real. Your drone soldering probably sucks. Cold joints and bridged pads are the silent killers of FPV electronics. Flight controller wiring isn't about slapping hot metal onto a board and hoping it sticks. It's a mechanical skill. Let's fix your technique before you fry another $100 stack.
Flux is Not Optional. Use It.
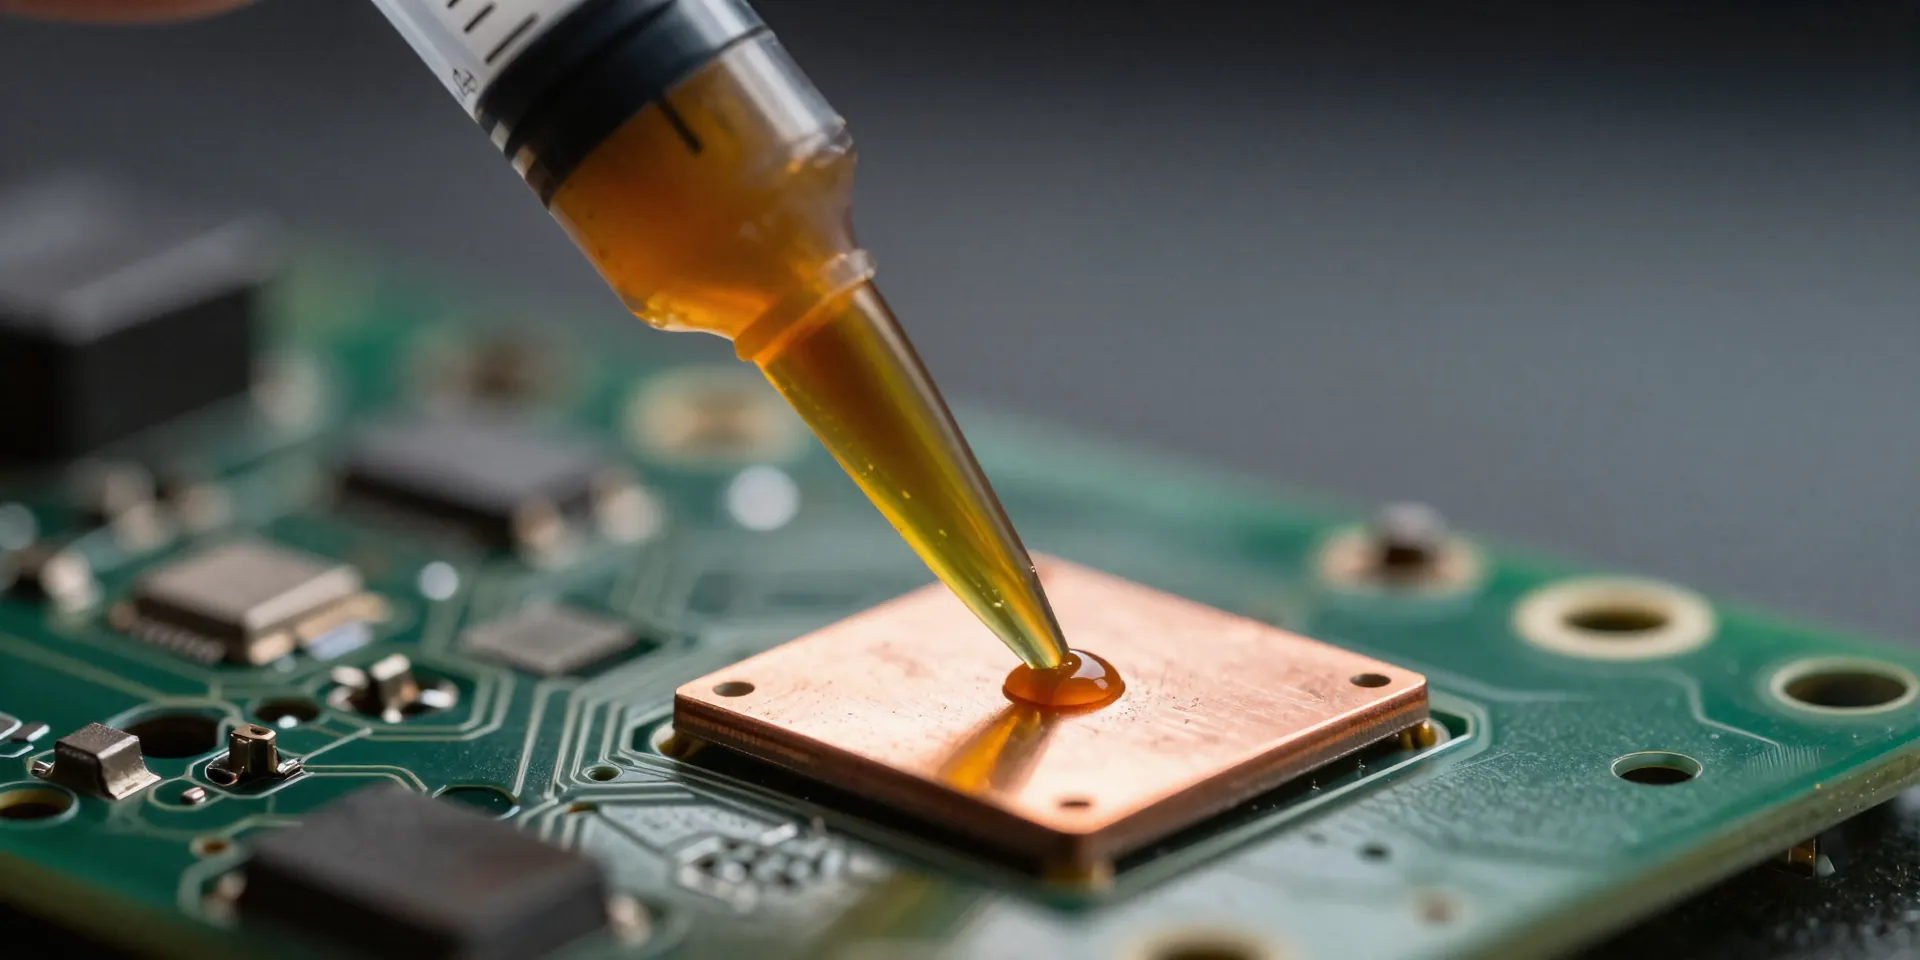
Forget whatever you learned in middle school shop class. If you aren't using flux, you're doing it wrong. Flux cleans the microscopic oxidation off the pads. It makes the solder flow freely. Grab a flux pen or a syringe of the gooey paste. Smear it on the flight controller pads before you even bring the iron close to the board. Seriously. This one DIY drone tip will instantly make your work look professional. No more gross, spiky blobs.
Tin Everything First. Everything.
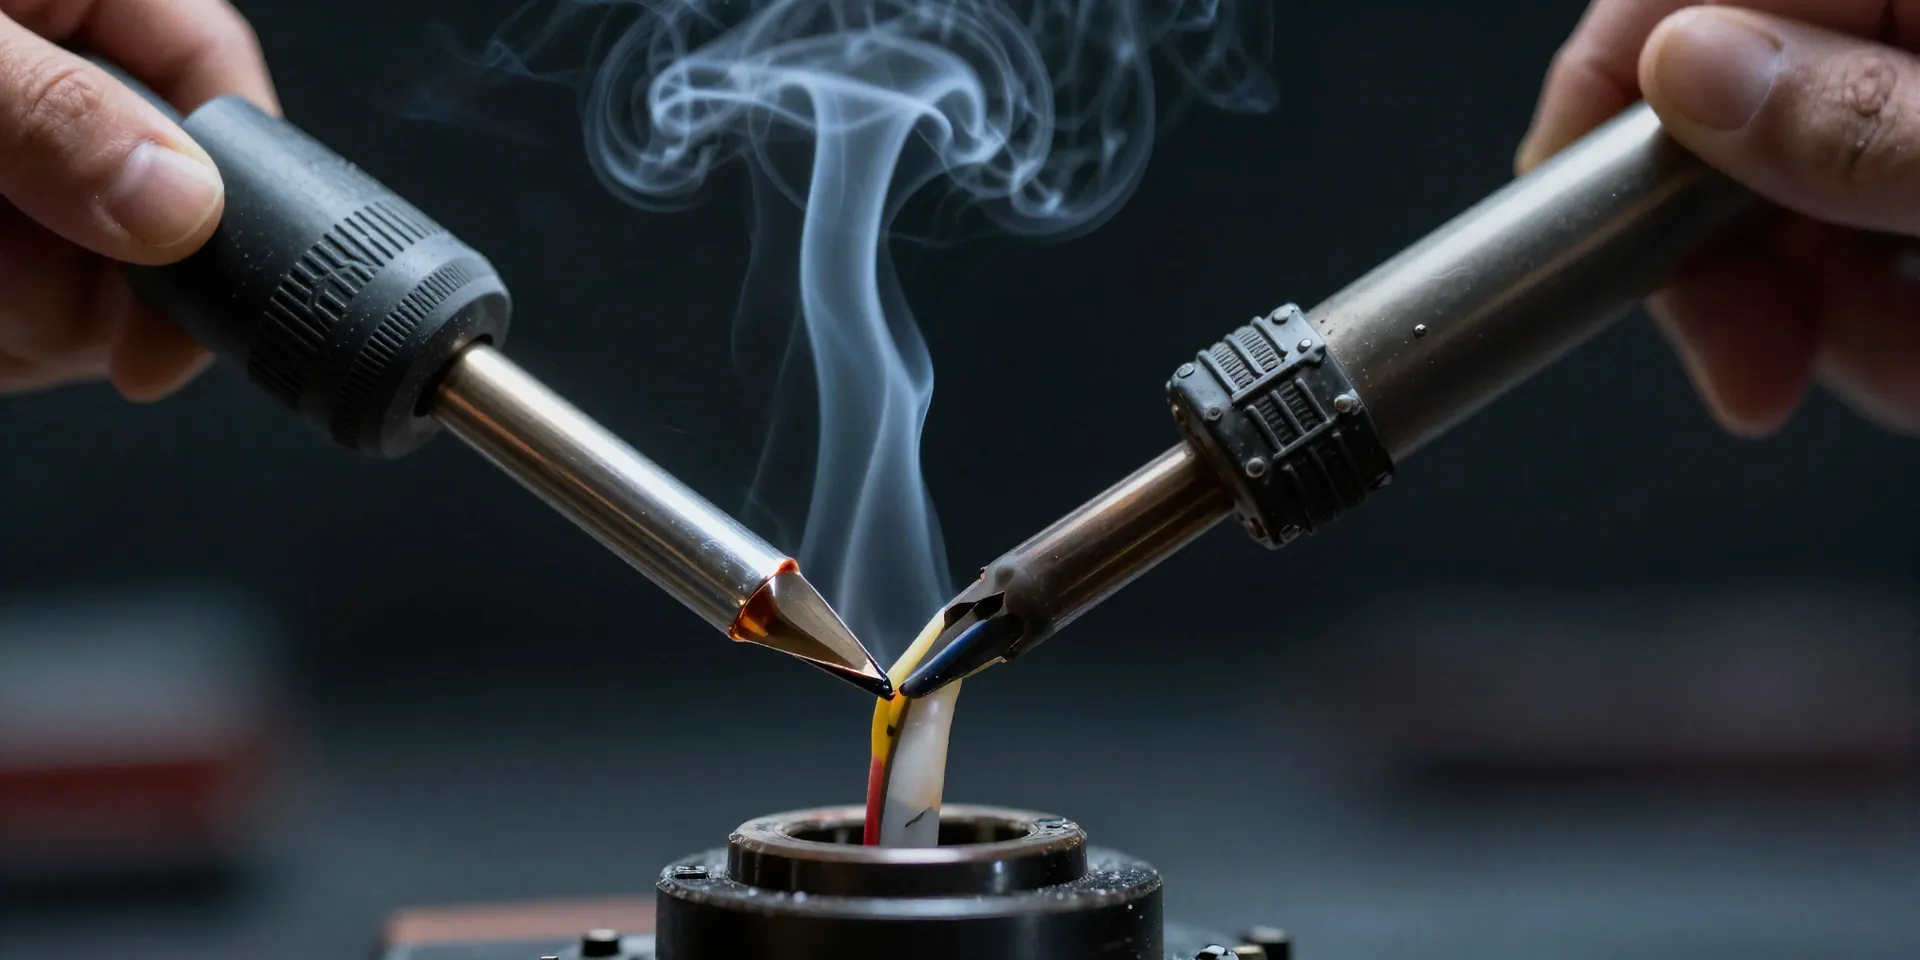
Don't just jam a bare wire onto a dry pad. That's a recipe for disaster. You need to tin both parts separately. Heat the wire. Feed a little solder into it. Let it cool. Then heat the pad. Melt a tiny dome of solder onto it. Now bring them together. Touch the iron to the wire, wait a fraction of a second for the pad underneath to melt, and remove the heat. Hold still. Boom. A perfect, rock-solid connection.
Stop Being Scared of High Heat
People think a hotter iron will fry their components faster. Actually, the exact opposite is true. A low-temp iron takes forever to melt the solder. You end up pressing the tip against the pad for ten seconds, baking the entire board until tiny microchips literally fall off. Crank that iron to 380°C or 400°C. Get in, melt the joint instantly, and get out. Two seconds maximum. Speed is safety.
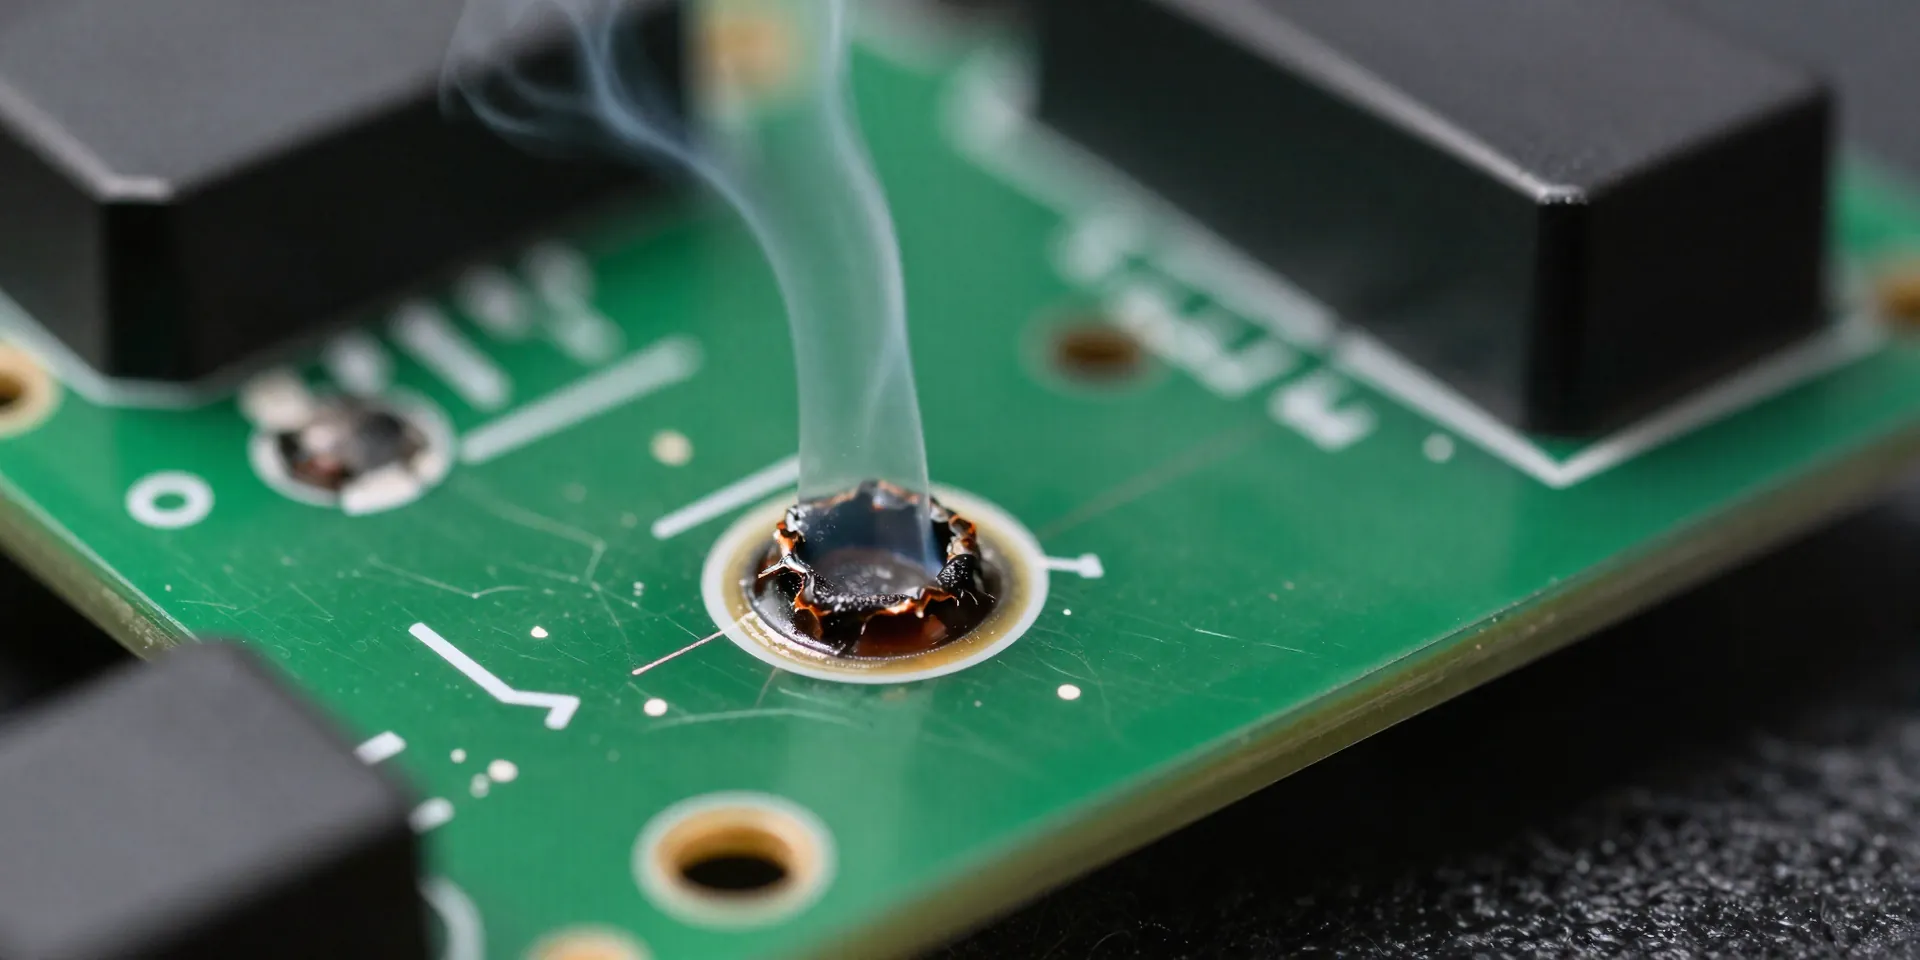
The "Shiny and Round" Test
Look at your finished joint. Is it dull? Crumbly? Looking like a tiny gray asteroid? That's a cold joint. It will crack the second you clip a tree branch. A proper connection is shiny. It looks like a smooth little silver Hershey's Kiss. If yours looks awful, add a drop of flux, touch it with the hot iron for a second, and let it reflow. Don't settle for mediocre. In this hobby, a bad joint means a long, miserable walk to retrieve a broken quad.