Connecting Your VTX and FPV Camera Safely
Stop Frying Your Gear: The Real Cost of Bad Wiring
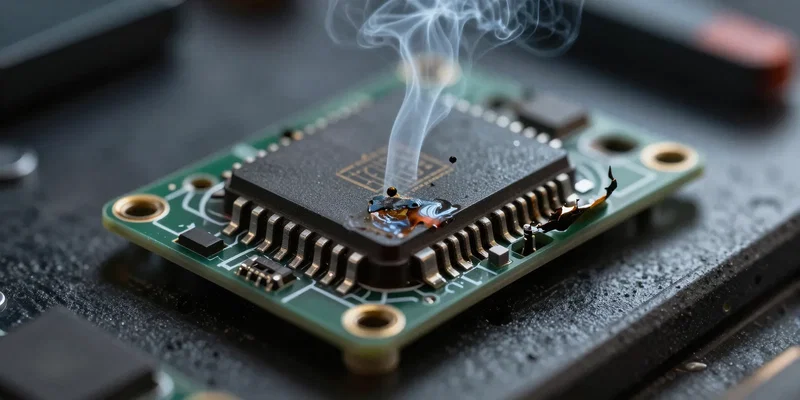
You just dropped decent cash on a new video transmitter drone setup. The last thing you want is that dreaded pop followed by the smell of burnt electronics. We call it "magic smoke" for a reason. Once it escapes, your gear is dead. Period. Nailing your VTX wiring isn't rocket science. But it demands respect. A single misplaced wire turns your expensive DIY FPV video dream into a tragic paperweight. Let's make sure that doesn't happen.
Voltage Will Make or Break Your FPV Camera Setup
First rule of FPV camera setup. Check your voltage. Double-check it. Most modern cameras run on 5V. Some take full battery voltage (VBAT). Feed VBAT into a strictly 5V camera? Instant death. Check the spec sheet. If your camera needs 5V, wire it directly to the 5V pad on your flight controller. Same goes for the VTX. High-power transmitters often need VBAT to hit those 800mW+ ranges. Don't guess. Look at the manual.
Routing the Signal: Video, Power, and Ground
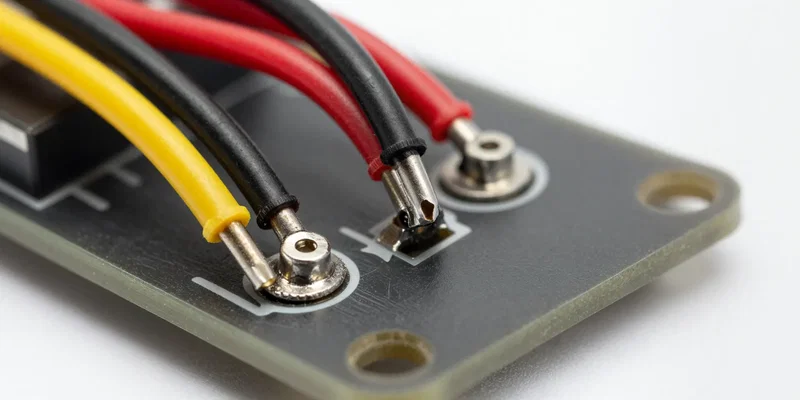
Time to heat up the iron. You've got three main characters here: Power, Ground, and Video. Your camera sends the video signal to the flight controller—usually labeled CAM or VIN. The flight controller layers your on-screen display over the image. Then, it sends that combined signal out to the VTX via a pad labeled VTX or VOUT. Make sure your grounds are solid. A loose ground wire is the number one cause of trash, static-filled video.
SmartAudio and Tramp: Taking Control
Nobody wants to push tiny, frustrating buttons on a hot circuit board at the flying field. Enter SmartAudio and IRC Tramp. This is the green or blue wire coming off your VTX. Solder it to an available TX pad on your flight controller. Set up the correct protocol in Betaflight. Boom. Now you can change channels, bands, and output power directly from your radio or goggles. It's mandatory for a modern build. Don't skip it.
The Cardinal Rule: Antenna Before Power
Listen carefully. Never, ever plug in your battery without the antenna securely screwed onto your VTX. I don't care if you're just testing the LEDs. A VTX dumps massive amounts of RF energy. Without an antenna to dissipate that energy, it reflects right back into the board. The amplifier cooks itself in seconds. Screw the antenna on. Then plug in the lipo. Every single time.